The Complete Guide That Makes Doing Product Photography Simple
The Complete Guide That Makes Doing Product Photography Simple
Thanks to the rise of the e-commerce industry, buying the things you want and need has never been easier. All you have to do is Google what you’re looking for and a virtually endless list of options pops up.
As a business owner, this is both a gift and a curse. On one hand, you’re able to sell your products all over the world! On the other, so is everyone else.
There are over 30 million small businesses in the US alone, so how do you stand out from the competition?
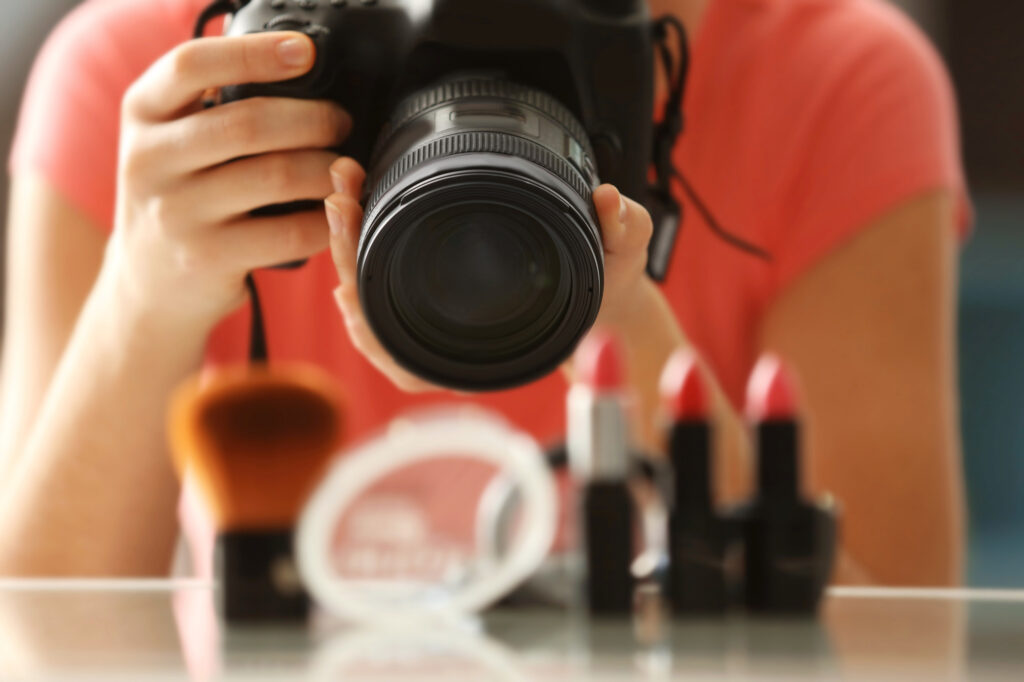
Well, one of the best ways to do so is through your product photography. Most customers won’t see your products in person until they order them, so you have to draw them in with your pictures! To learn how to do just that, all you have to do is keep reading.
Use a Tripod
Whether you’re taking your pictures with your iPhone or the best DSLR camera on the market, the best tip we can give you is to use a tripod. Even the steadiest hands are never perfectly still.
Rather than wasting time trying to get a clear shot, take a moment to set up your tripod and get blur-free pictures every time.
Don’t worry about investing in the most expensive tripod you can find. As long as it holds your camera still, you’re good to go!
Learn About Lighting
As anyone with experience in professional photography will tell you, lighting can be your best friend or your worst enemy. The key to a stunning picture is finding the perfect amount and shade of light for your shot.
There are a few lighting tools that you can purchase to make your lighting setup easier, such as sidelights, a ring light, and a diffuser, but all you really need is a window!
Natural light is a great tool for photographers of all skill levels and a great way to save money on accessories.
Setting up a miniature “studio” near a window with plenty of natural light is easy. All you have to do is place a table against the window and cover it with a black or white cloth to make your product stand out.
Choose Your Backdrop
The next step is to choose your backdrop. With product photography, it’s helpful to use multiple backdrops for a single product, so that the customer can get an idea of what it looks like in person.
For example, every product should have a product-only photograph. This is the type of picture that makes the product appear as if it’s floating in mid-air. With a white backdrop and a sweep-stand, you can snap this type of photo without difficulty.
If you want to add some details to the picture, you can take a photo of the product outside, such as in the grass or on the beach, or take pictures of it in use by pets or kids.
Along with a product-only photo, you should include in-context photos of your products. These photos show how your product is used in real life and are often the ones that ultimately inspire purchases.
Let’s say, for instance, that you sell soaps. You might include a picture of someone washing their face using it, or holding the soap near the sink.
Keep Colors True to Reality
Have you ever seen those “expectation vs reality” memes? They’re almost always making fun of bad advertising online. No one likes to order something online, only to receive it and realize it’s not at all like the pictures.
To avoid the memes (and the bad reviews that come along with them), be sure that your pictures are true to reality. This is especially true if you’re selling clothes or other products where the specific color makes all the difference.
Keep in mind that photos can look slightly different across different devices. Take a look at your product photos on your phone, computer, and tablet to make sure that it looks as close to reality as possible before posting.
Use Photo Editing Software
Sometimes even high-quality photos look a little different from reality. When this happens, photo editing software is a lifesaver.
Again, be careful not to go too far with editing and distort your images. The colors and proportions of the product should be the exact same as they are in real life.
The main purpose of photo editing software is to make your photos look polished and professional. It might take a few tries to find a photo editing software with a user interface that you like, but finding the perfect one is worth the effort!
Once all the photos you plan to use in the product carousel look how you want them to, take a moment to check that they’re all the same size.
Uniform, high-quality pictures look more professional. If you need a quick guide on how to resize multiple images at once, Setapp can help!
Get More Customers With Top-Notch Product Photography
Product photography might seem a little boring, but it can be the difference between gaining a loyal customer and that same customer passing you over for someone else.
Having the best products in the world won’t matter if your pictures are so bad that no one gives them a try! By using this guide, you can upgrade your product photos and start drawing in new customers today.
Interested in learning about more ways to take your business to the next level? Take a look at our blog!